Performing basic analog and digital input and output with DAQFactory and a LabJack is quite simple. This is done by creating a channel for each desired I/O point.
Analog Input:
To create an analog input channel:
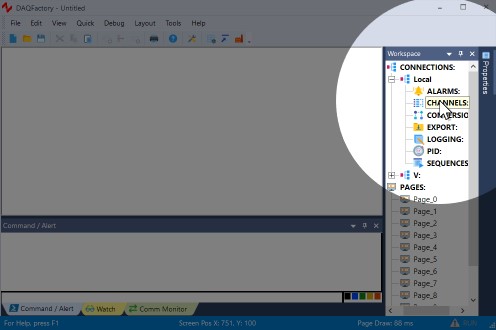
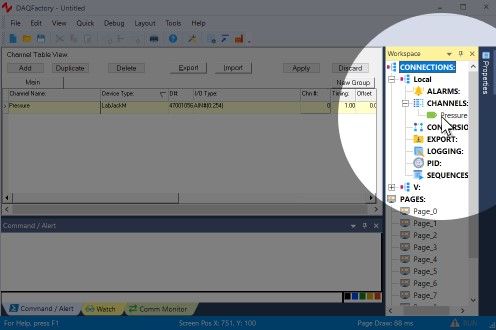
1) Click on the word CHANNELS: in the Workspace under Local. This will bring up the channel table.
The workspace provides an organized presentation of the different configuration screens for setting up your DAQFactory document. Clicking on almost every item in the tree will bring up a new view related to the item selected. Clicking on CHANNELS: displays the channel table where you can manipulate all the channels in your document. Make sure and click the CHANNELS: under Local and not the one under V:
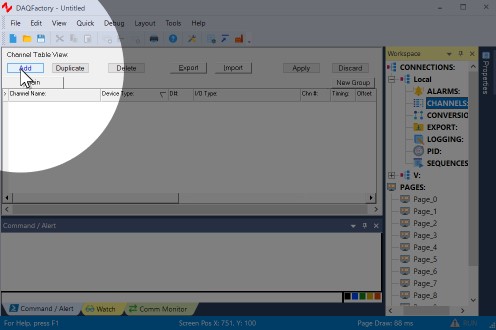
2) Click on Add to add a new row to the table
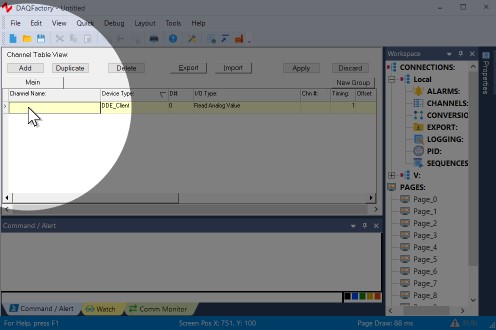
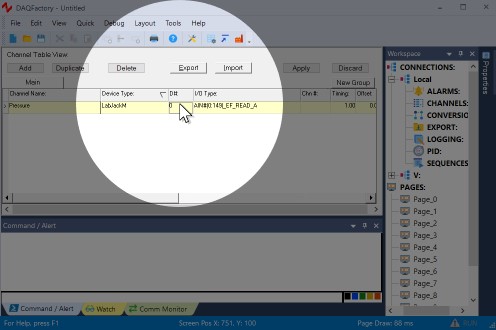
3) In the Channel Name column, put a name, say Pressure.
The channel name can be anything you’d like as long as it starts with a letter and contains only letters, numbers and the underscore.
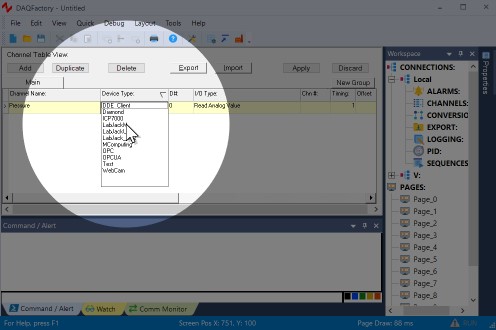
4) In the Device Type column, select LabJackM.
All your LabJack T series device channels will use this Device. Make sure not to select LabJack_U12, as this is for the U12 only, or LabJackUD as this is for U series devices. Don't ask us why it is "M" and not "T". M is the name of the driver library current used by T series devices.
5) In the D# column, enter the serial number of your LabJack, or if connecting over Ethernet or WiFi, the IP address of the device.
If you don't know the serial number of your LabJack, please read the section on setting up your device in the last chapter. If you only have one LabJack and never expect to use any more, you can use 0 (zero) to have DAQFactory use the first found LabJack on USB.
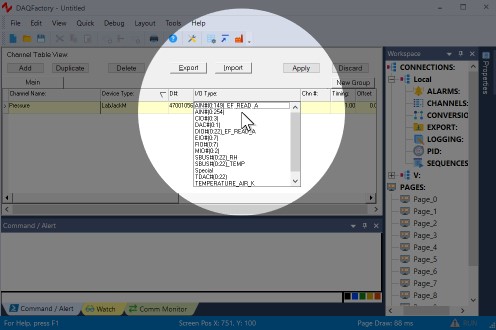
6) In the I/O Type column, select AIN#(0:254).
If you don't see AIN#(0:254) as an option then you probably selected the wrong Device Type. Go back to step 4.
The I/O types in the T series driver correspond to descriptions provided by LabJack. The numbers in parenthesis are the range of possible channel numbers, in this case 0 to 254. I/O Types without this range just take 0 for a channel number. The Special I/O Type allows you to specify a different data type than the ones listed here. That type is entered into the Quick Note / Special / OPC column of the channel table.
7) In the Channel column, enter 0 to read the first analog input channel on your device.
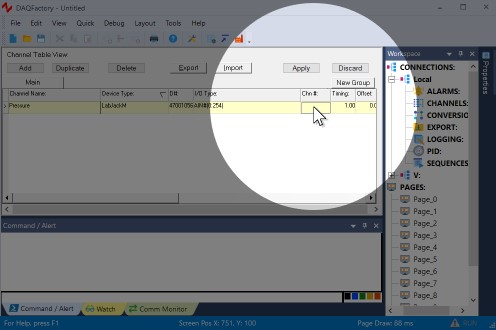
8) The next column, Timing, determines how often the LabJack is queried for a new value in seconds. The default is once a second, and we can leave it at this setting.
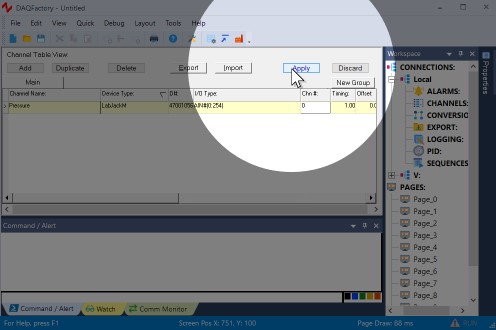
9) Leave all the other settings as is and click Apply. As soon as you click Apply, acquisition will start.
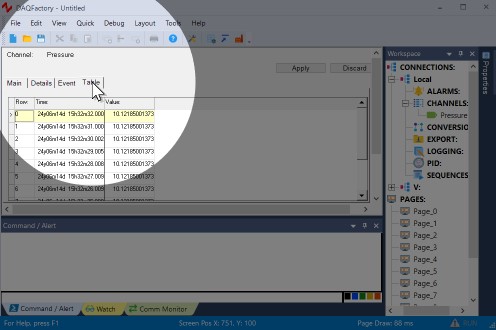
10) To quickly see your data coming in, click on the + next to CHANNELS: in the workspace to expand the tree, then click on your Pressure channel to display the channel view for this channel.
11) The channel view has multiple tabs. The first two repeat the settings in the channel table. Click on the last tab, Table to see your values coming in from the device.
This is not the primary way to view your data, but provides a quick indication that you are getting data. If you have nothing wired into your LabJack, you are most likely going to see a non-zero floating voltage reading.
On some LabJack devices, the pins can be either analog or digital input or output. DAQFactory automatically configures it to the appropriate setting, in this case an analog input.