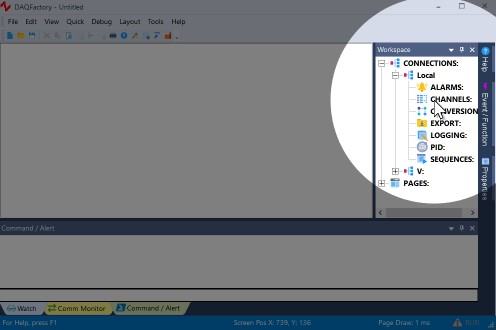
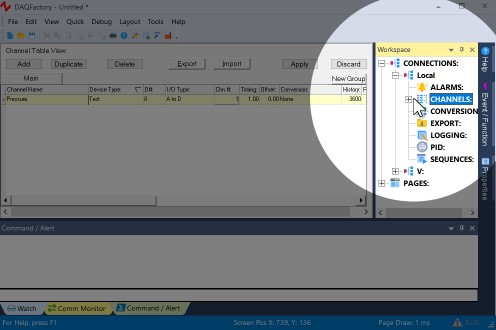
1. In the workspace (the tree area along the right of the screen), click on CHANNELS: under Local under CONNECTIONS:
The workspace provides an organized presentation of the different configuration screens for setting up your DAQFactory document. Clicking on almost every item in the tree will bring up a new view related to the item selected. Clicking on CHANNELS: displays the channel table where you can manipulate all the channels in your document. Make sure and click the CHANNELS: under Local and not the one under V:
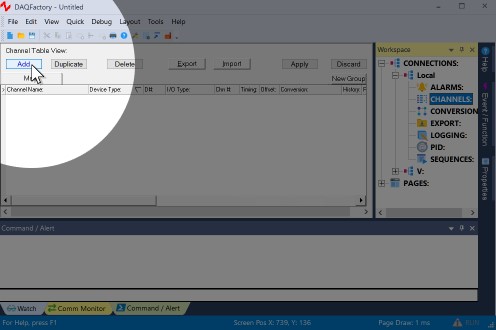
2. In the Channel Table View that appears, click on the Add button at the top.
This creates a new row where we will enter the information for our first channel.
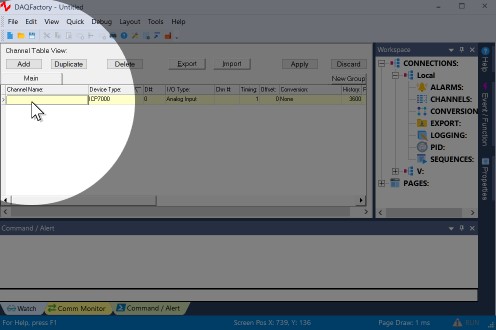
3. In the new row of the table, enter Pressure in the Channel Name column.
All channels must have a name. You can assign any name you want to your channels as long as they are unique, start with a letter and only contain letters, numbers or the underscore "_".
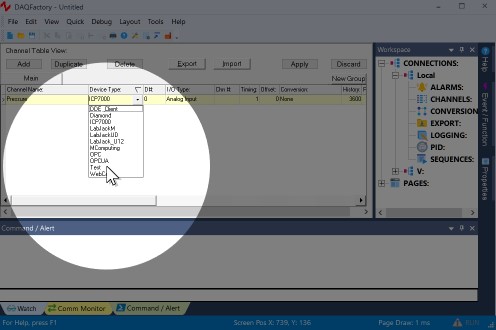
4. In the second column, Device Type, select Test from the drop down list.
The device type determines which type of device you wish to communicate with. This can be a specific manufacturer, a specific device, or a generic communications method such as OPC or serial.
5. In the third column, D #, leave the cell set at 0.
The device # is only used by some devices and has different meanings depending on the device.
6. In the fourth column, I/O Type, select A to D.
Most devices have several different types of data coming in or going out. The I/O type determines which type of data you desire. For example, many DAQ boards contain both A to D and D to A channels. The I/O Type determines which of these you wish to communicate with for this channel. I/O Types are not fixed types and different devices will have different choices available.
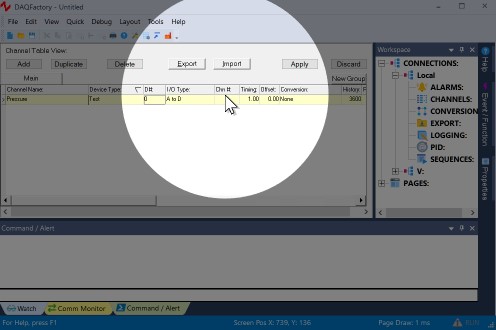
7. In the fifth column, Chn #, enter 1.
Most devices have several I/O points per I/O type. The channel number determines which I/O point this channel refers to.
8. Leave the rest of the columns in their default setting.
One important item to mention is the sixth column, Timing. For input channels this determines how often the input is read from the device. The interval provided here is in seconds. For now, we are going to leave it set at 1, or one new reading per second. In general you will never want to make this number smaller than 0.01. To acquire data at faster speeds requires hardware paced acquisition which, if supported by your device, is described in the section on your device.
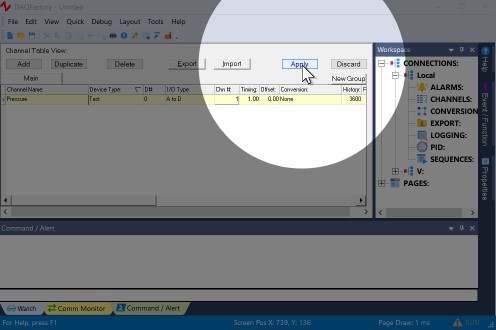
9. Click on the Apply button at the top of the screen.
The changes you make are not implemented by DAQFactory until you click Apply. If you do not want to keep your changes, you can click Discard. Once you click Apply, DAQFactory will start taking data from the test device, D#0, I/O Type A to D, Channel #0, and place that data in the "Pressure" channel.
10. Click on the + sign next to CHANNELS in the workspace.
The + sign appeared when you hit Apply. Clicking on it displays the channels you've created as separate items in the workspace.
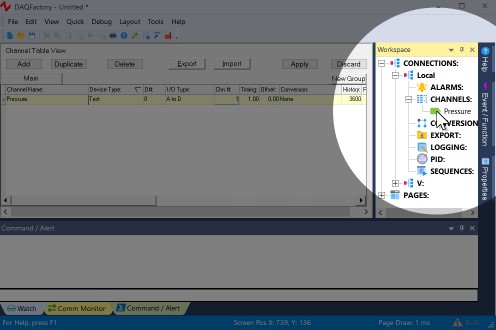
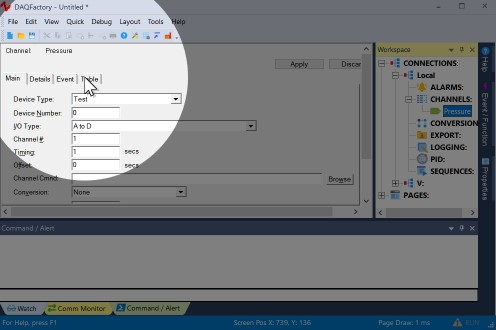
11. Click on Pressure listed under CHANNELS in the workspace.
This will display the channel view for the channel Pressure. The channel view displays the configuration information for a single channel. In general, it is quicker to create your channels in the channel table, but the channel view provides space for some extra details.
12. In the Channel View that appears, click on the Table tab.
The channel view also provides a quick table to view your incoming data. This can be used to confirm that data is being acquired and that you are reading the correct data. You should see new data appearing in the table. You have just confirmed that you are acquiring data on your pressure channel.
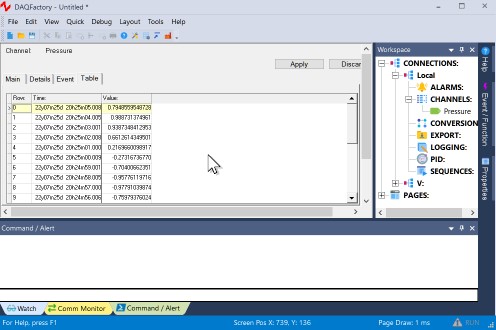
You are now taking data.