In addition to taking data, most systems also control outputs. Here DAQFactory offers many advanced automated control features such as scripted automation and PID loop control, but for now we will just use the output channel we created and control it manually from a page component.
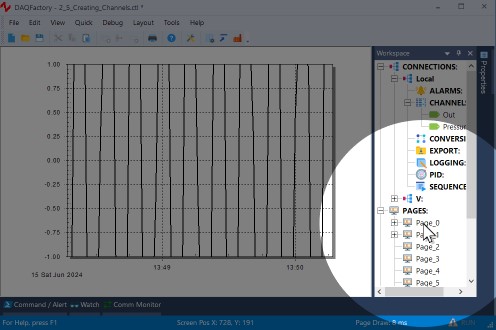
1. Click on Page_0 in the Workspace to go to our first page.
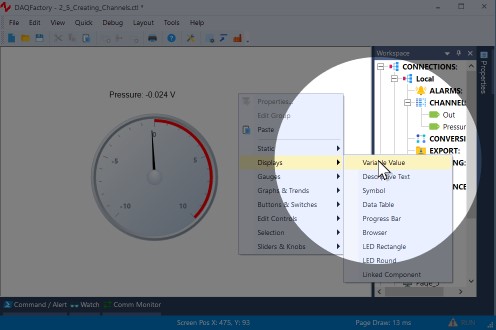
2. Right-click and select Displays-Variable Value to create another variable value component.
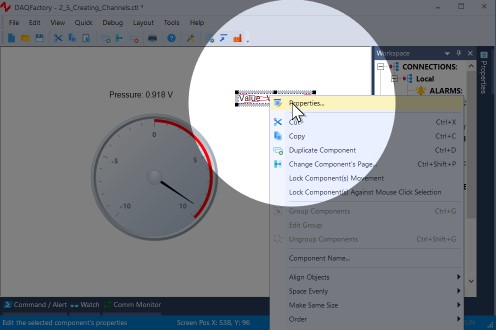
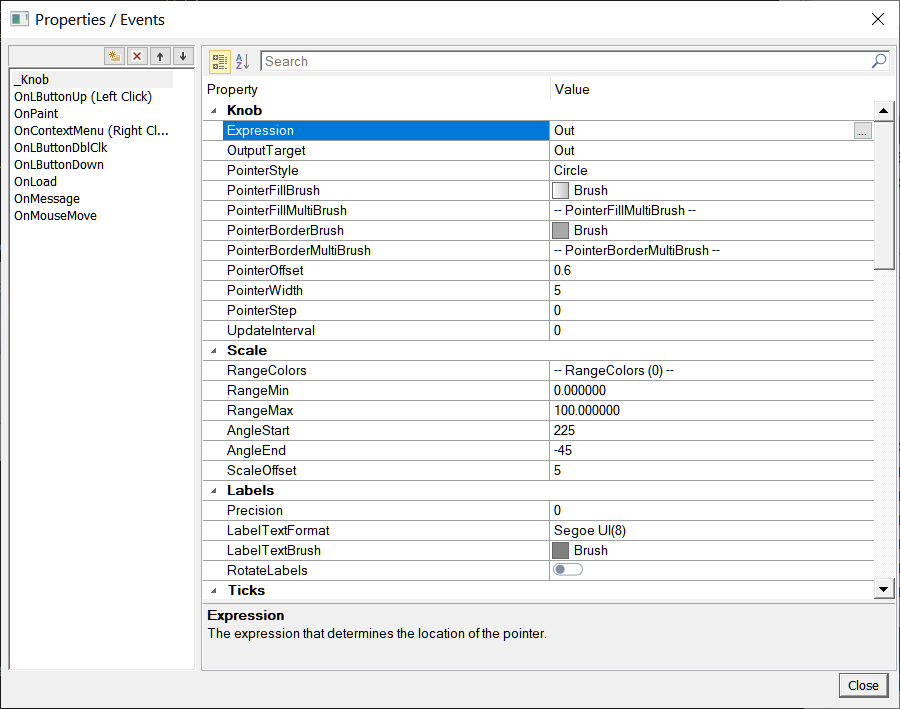
3. Right click on the new component and select Properties... to open the properties window.
4. For the expression, enter Out[0].
Feel free to set the caption as well. Like before, this will simply display the most recent value of the out channel.
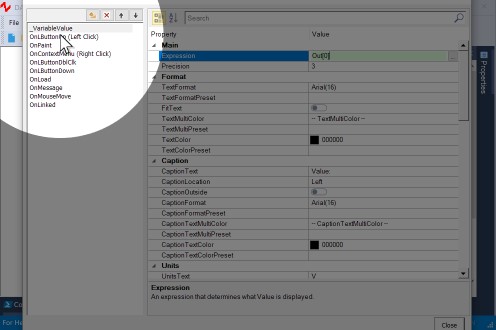
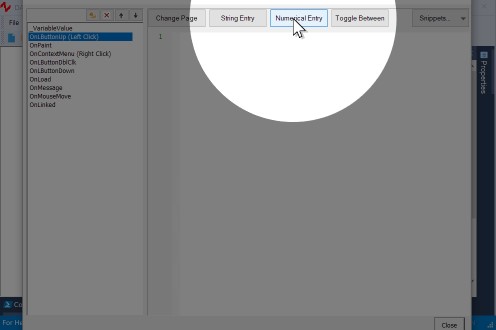
5. In the left column of the properties window, click on Basic Action (Left Click).
With the exception of the first item in the list, which is the component's name and displays the component's properties, the left side lists all the events you can assign action script to. The easiest and most common one is Basic Action, which occurs when you click on the component. Basic Action only gives a few common options, but makes it easy to access these. To implement script when you click the component, use the OnLButtonUp event.
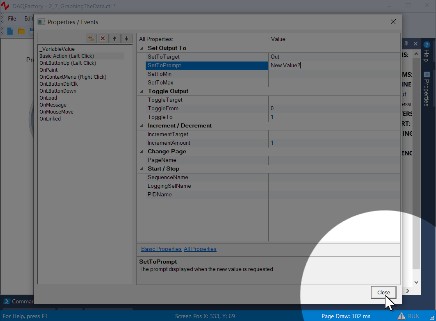
6. At the top, edit the SetToTarget and set it to Out.
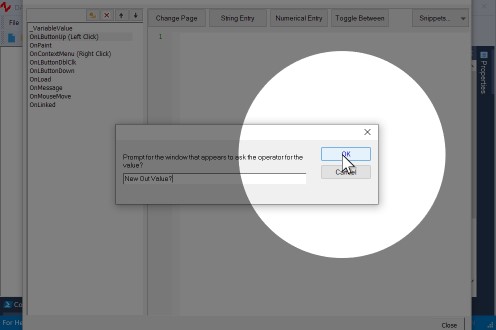
The Basic Actions are just a set of common actions you can perform without writing any script. Set Output To will prompt you for a new value and assign that value to the SetToTarget. You can specify the prompt as well as optional minimum and maximum values. Please see section 7.4.2 for more detail about the basic actions available.
7. Click OK to close the Properties / Event window.
The page will now display your caption with no data. This indicates that out does not have a valid value yet. This is because we haven't set it to anything.
8. Click on the component. Don't hold Ctrl because we want to interact with the control, not move it around. A new window will appear requesting a new value. Enter any number and hit OK.
Out will now be set to the value you entered. The component will now display your new value.
The next steps will not work in DAQFactory Express because it doesn't include knobs. Consider upgrading to any of the paid versions of DAQFactory to get knobs and many other controls, among other things.
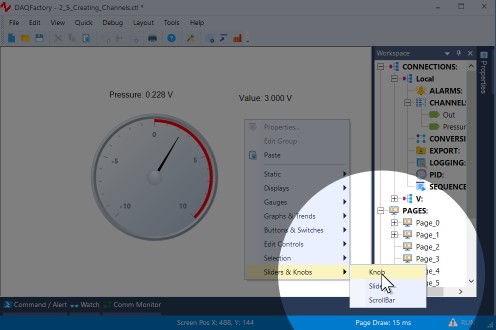
12. To try a different control, right click somewhere else on the screen and select Sliders & Knobs - Knob. Right click on the new component and select Properties... to open the properties window.
13. Next to both Expression and OutputTarget, type Out. Leave the rest of the properties at their default values and click OK.
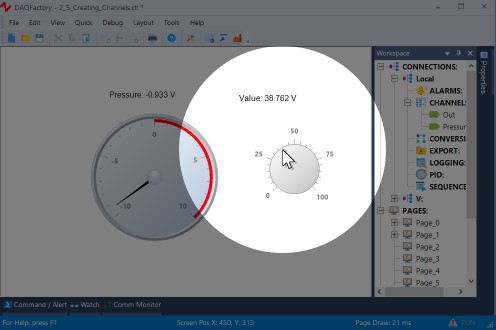
The knob is now set to control the out channel.
14. Click on the knob and drag in a circle as if turning the knob.
You may have to click once beforehand to deselect the knob. If you look at the variable value component we just created you will see it update as well as you turn the knob. Likewise, if you click on the variable value component and set it to a different value (between the current knob's range of 0 to 100) you will see the knob update to the new setting. This is because we set the Expression, which determines what the knob shows, to Out as well as the OutputTarget, which is the channel or variable that gets updated when the knob is moved by "hand".
You now know how to set an output to value using several different screen components. Next we will log the incoming data to disk.
For more information on the components that manually control outputs, see the chapter entitled Pages and Components. Most of the components can be used to control outputs.
For more information on sequences and automating your system, see the chapter on Sequences.